3: Generate Scrapeable File
Creating the Scraping Session
To this point we have gathered information on how the pages we will be scraping work. Now we're ready to start creating the scrape. For all scrapes, we start by creating a scraping session. A scraping session is simply a container for all of the files and other objects that will allow us to extract data from a given web site.
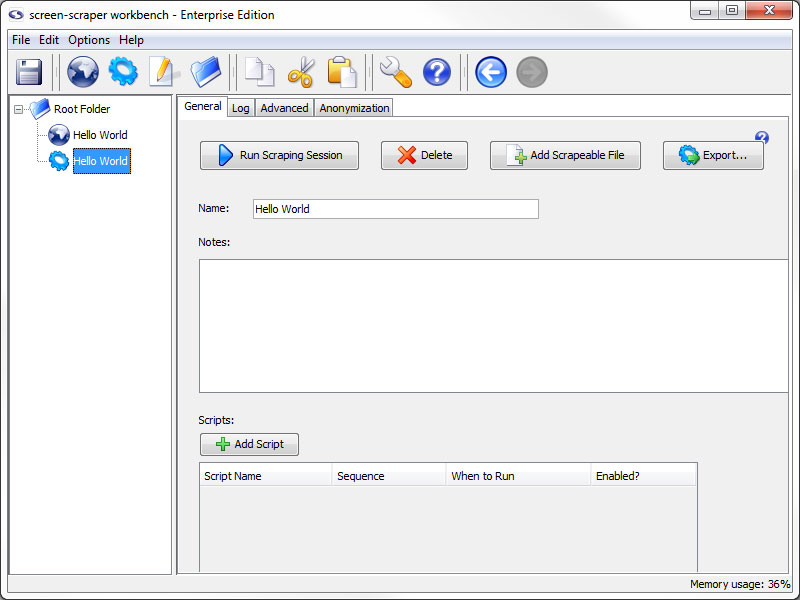
Click the (Add a new scraping session) button to create a scraping session.
Rename scraping session to Hello World.
If you imported the scraping session at the beginning of the tutorial you'll want to name it something else, perhaps My Hello World.
Generating Scrapeable Files from Proxy Transactions
Now return to our Hello World proxy session by clicking on Hello World in the objects tree on the left. Click on the Progress tab to view our HTTP transactions from earlier.
Any of the transactions in the table can be made into scrapeable files in our scrape. In this case, we are interested in the Form Submission transaction. Click on it so that its information loads in the Request tab below.
To create a scrapeable file from this transaction you just need to select the scraping session that you want the file to be created in. In the Generate scrapeable file in drop-down, select Hello World then click the Go button.
The new scrapeable file contains all the information in the HTTP transaction.
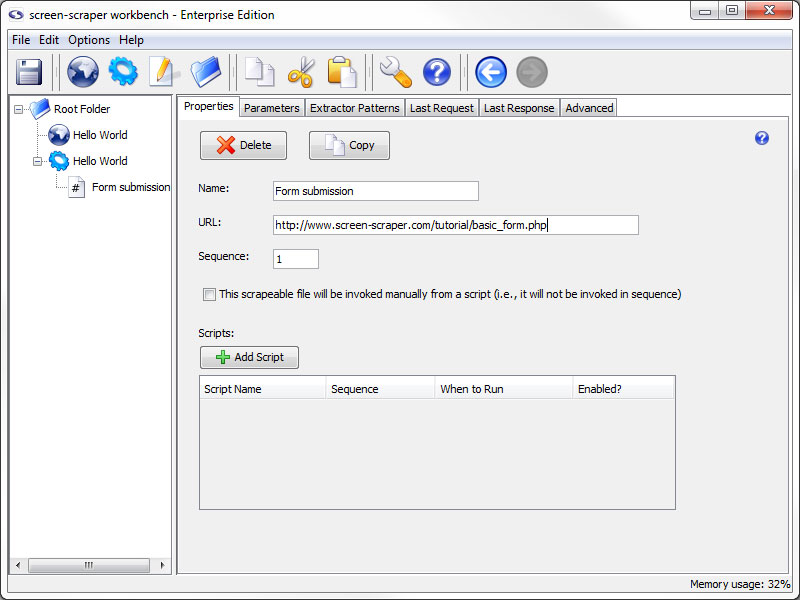
Review Recorded Data
Take a quick look at what the Proxy Server recorded. Let's go quickly through each of the tabs.
- Properties: Contains the base URL that was recorded.
- Parameters: Contains the data passed by our form submission.
- Extractor Patterns: Empty for now but here we will build our extractor patterns.
- Last Request: Contains the raw text of the request we made to the server.
- Last Response: Contains the raw text of the response made by the server.
Test Run
To start the scrape, click on the Hello World scraping session in the objects tree, then click the Run Scraping Session button.
The log should look something like this.
Running scraping session: Hello World
Processing scripts before scraping session begins.
Scraping file: "Form submission"
Form submission: Resolved URL: http://www.screen-scraper.com/tutorial/basic_form.php?text_string=Hello+world%21
Form submission: Sending request.
Processing scripts after scraping session has ended.
Scraping session "Hello World" finished.
Viewing the Scrapeable File Response
You can view the text of the file that was scraped by clicking on the Form submission scrapeable file in the objects tree, then on the Last Response tab. This will show the whole of the HTTP response that the server sent back to screen-scraper.
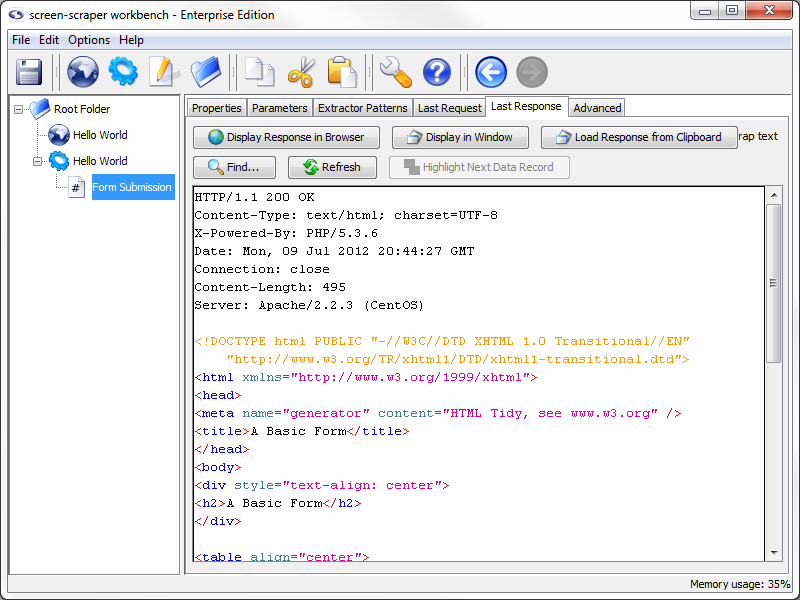
You can view what the page looks like when it is rendered by clicking the Display Response in Browser button. It's often helpful to view the last response for a scrapeable file after running a scraping session so that you can ensure that screen-scraper requested the right page.
A good principle of software design is to run code often as you make changes. Likewise, with screen-scraper it is a good idea to run your scraping session frequently and watch the log and last responses to ensure that things are working as you intend them to.
Saving Your Scrapes
Now would be a good time to save your work. Click the (Save) icon.
- Printer-friendly version
- Login or register to post comments