4: Initialization Script
What is an Initialization Script
It's a common practice to run a script at the very beginning of a scraping session that can initialize variables and such. It is especially useful in a site that iterates over multiple pages, like our little shopping site.
Creating the Script
Generate the script either by clicking the (Add a new script) button or by selecting New Script from the .
In the Name field type Shopping Site--initialize session.
You'll remember from the first tutorial that screen-scraper scripts get invoked when certain events occur. We'll be invoking this script before the scraping session begins but first let's write the script.
Writing the Script
Once again, this tutorial is not to teach Java so we will provide you with the script. Please copy and paste it into the Script Text field in your script.
session.setVariable( "SEARCH", "dvd" );
session.setVariable( "PAGE", "1" );
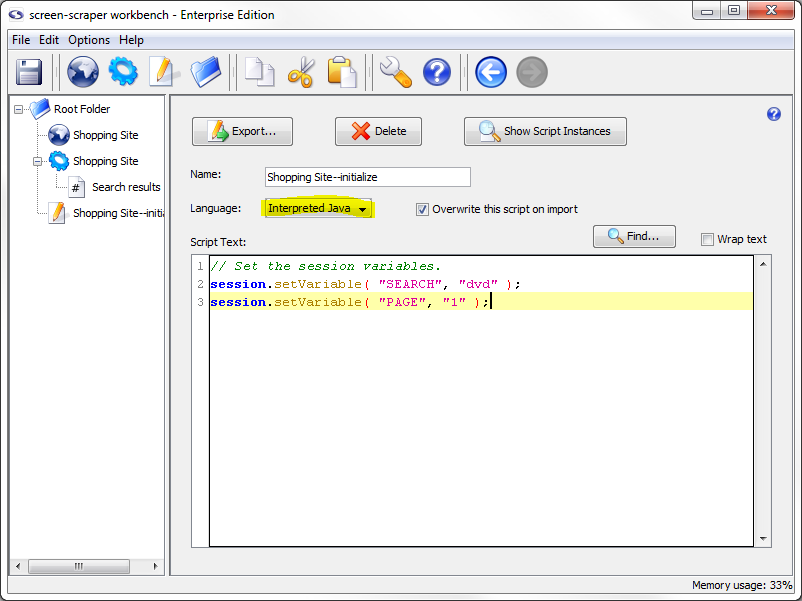
Ensure that Interpreted Java is selected in the Language.
In the script, we set two session variables on our current scraping session. We start the PAGE variable at 1 so that the first search results page will get requested first.
Using Session Variables in Scrapeable File Parameters
Before trying out this script let's modify the parameters for our scrapeable file so that they make use of the session variables. Click on the Search results scrapeable file, then on the Parameters tab.
Change the value of the keyword parameter from dvd to ~#SEARCH#~, and change the value of the page parameter from 2 to ~#PAGE#~.
If you remember from the first tutorial we used the delimiters ~@ and @~ to select information out of an extractor pattern and we also saved the selected information into session variables. The delimiters ~# and #~ do almost exactly the opposite; they take session variables and place them into our files instead of taking them out.
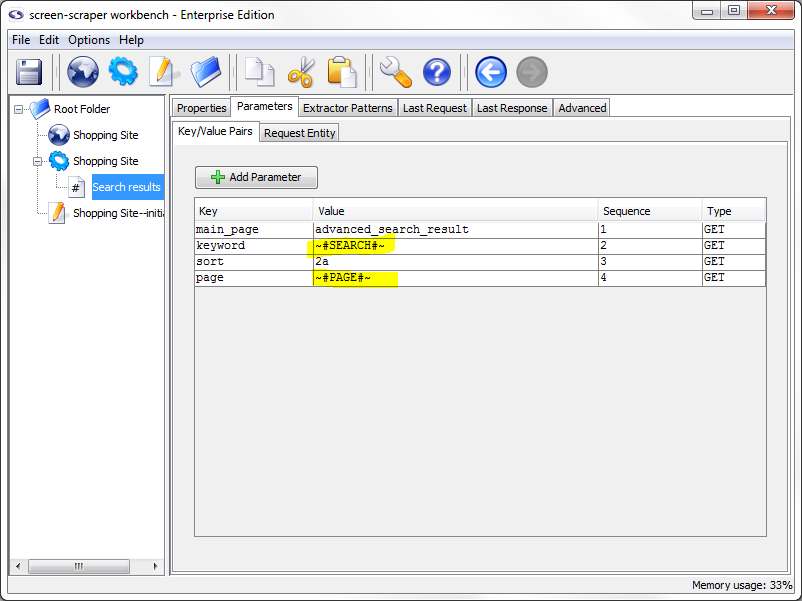
The ~#SEARCH#~ and ~#PAGE#~ tokens will be replaced at runtime with the values of the corresponding session variables. As such, the first URL will be as follows:
That is, screen-scraper will take all of our GET parameters, append them to the end of the URL, then replace any embedded session variables (surrounded by the ~# #~ markers) with their corresponding values.
Alternative Method
We could achieve the same effect by deleting all of the parameters from the Parameters tab, and replacing the text in the URL field with the whole GET URL:
Breaking out the parameters under the Parameters simply makes them easier to manage, which is why we have taken that approach.
Associating the Script
We'll now need to associate our script with our scraping session so that it gets invoked before the scraping session begins.
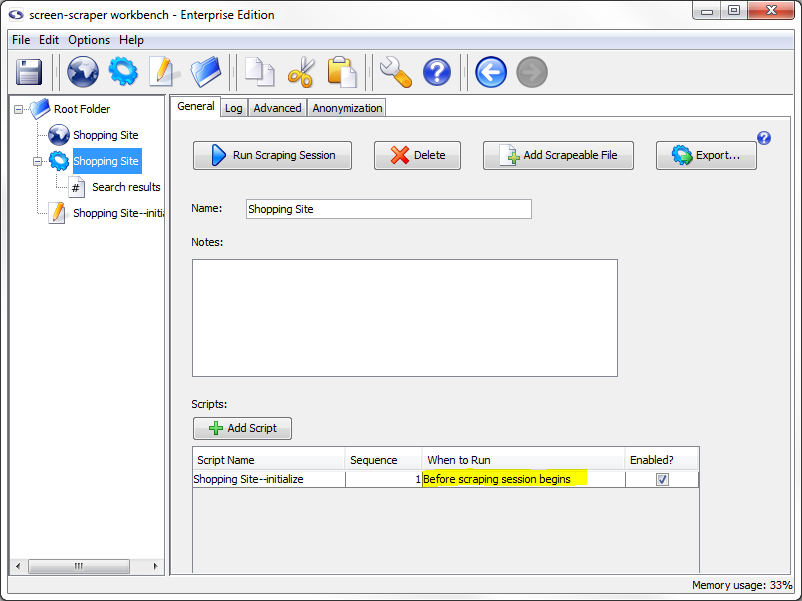
To do that, click on the Shopping Site scraping session in the objects tree, then on the General tab.
In the Scripts section, towards the bottom of the pane, click the Add Script button to add a script.
In the Script Name column select Shopping Site--initialize session. Then, in the When to Run column select Before scraping session begins (if not already selected), and make sure that the Enabled checkbox is checked. This will cause our script to get executed at the very beginning of the scraping session so that the two session variables get set.
Test Run
All right, we're ready to try it all out. This scraping session will, once finished, generate a longer log than the one that the first tutorial created, so it may be a good idea to increase the number of lines screen-scraper will display in its log. To do that, click on the scraping session in the objects tree, then on the Log tab. In the text box labeled Show only the following number of lines enter the number 1000.
As you might guess, if you simply remove the number from the box then it will allow the logs to grow as much as it needs to to keep all of the information for the scrape. Really long files will slow down the scrape, so if it starts to get too long it is best to limit the size of the log.
Run the scraping session by selecting it in the objects tree, then clicking the Run Scraping Session button. This will cause the Log tab to be activated, allowing you to watch the scraping session progress.
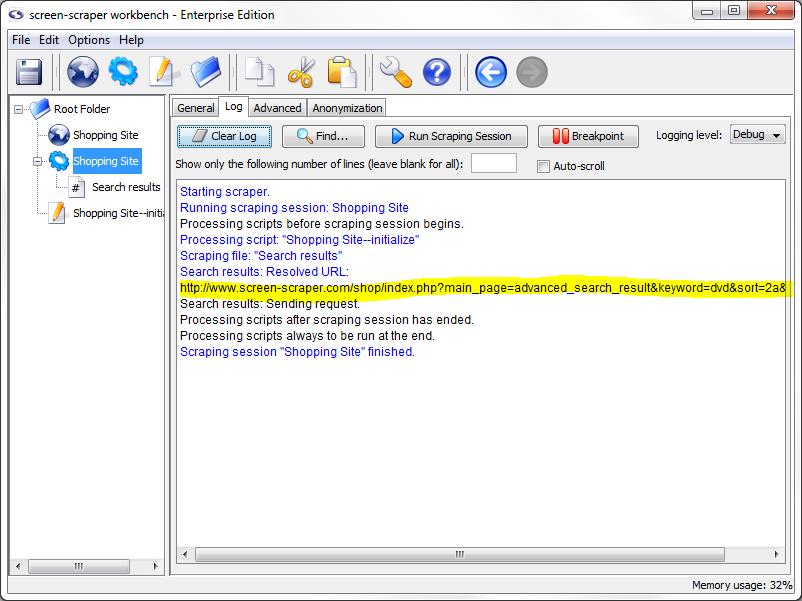
You'll notice that the URL of the requested file is the one given above. You can also verify that the correct URL was requested by clicking on the Search results scrapeable file, then on the Last Response tab, then on the Display Response in Browser button. The page should resemble the one you saw in your web browser.
Remember that it's a good idea to run scraping sessions often as you make changes, and watch the log and last responses to ensure that things are working as you expect them to. You'll also want to save your work frequently. Do that now by hitting the (Save) button.
- Printer-friendly version
- Login or register to post comments