Introduction
To ensure clarity, the first thing that you need to know about the workbench is the names for the various regions of the window. This will help to keep us oriented correctly during the documentation of the workbench.
Workbench Layout
- Menu Bar: Options available at the very top of the page (just below the title bar) starting with File on the far left.
- Buttons Bar: Just below the File Menu this area contains buttons for such common tasks as saving, creating new objects, cut, copy, and paste.
- Objects Tree: Located on the left side of the window, this pane lists all of the screen-scraper objects that are currently available to this instillation of screen-scraper.
If this is your first time opening screen-scraper the only item listed will be the root folder.
- Main Pane: This is the largest pane in the workbench and usually takes up at least two-thirds of the window. It changes to reflect the content of the object that is selected in the assets pane. Because of this feature, it is most commonly referred to by the name of the screen being displayed in it.
- Status Bar: Strip at the bottom of the window that reports on the current memory usage of screen-scraper. Occasional messages will also show up, such as when screen-scraper has saved your work.
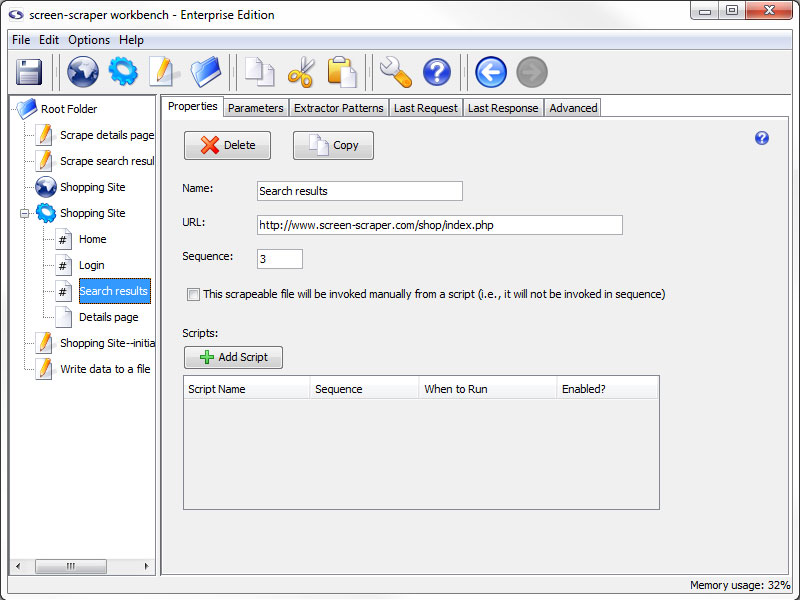
The size of the two panes can be adjusted to your liking by clicking on the vertical bar that divides the two panes and dragging it to the left or right.